Fundamentals
Understanding the Exposure Triangle: Aperture, Shutter Speed, ISO Explained Step by Step
Three parameters, one image. Aperture, shutter speed and ISO sensitivity form the exposure triangle. Master their interactions and regain total control of your camera.
Exposure: What Your Sensor Records as Light
Before tackling the triangle, a precise definition is needed. Exposure is the amount of light that reaches the sensor during the shot.
A correctly exposed photograph renders tones as you saw them: highlights are not blown out, shadows retain detail. An overexposed photograph receives too much light; bright areas become white and textureless. An underexposed photograph receives too little light; dark areas turn into uniform black.
How the Camera Calculates Exposure Automatically
In automatic or semi-automatic modes, the body measures light and adjusts parameters to reach a target value. Understanding this mechanism prevents unpleasant surprises.
The exposure metering system (photocell) analyses light reflected by the scene. It aims for a mid-grey value, corresponding to 18 % reflectance. This convention, inherited from film photography, is still used in 2026 by all manufacturers.
Three metering modes coexist on most current bodies. Matrix (or evaluative) metering analyses the entire scene and weights zones according to proprietary algorithms. Centre-weighted metering gives more weight to the centre of the frame. Spot metering analyses only a small area, generally 1 to 5 % of the sensor surface.
Exposure compensation is expressed in EV (Exposure Value). Adding +1 EV doubles the amount of light received. Subtracting -1 EV halves it. Most bodies allow corrections from -5 EV to +5 EV in 1/3 EV steps.
The Exposure Triangle: The Three Parameters and Their Interactions
Aperture, shutter speed and ISO sensitivity are the three variables that control exposure. Changing one requires adjusting at least one other to maintain the same quantity of light.
Narrow aperture: sharp from front to back.
Slow shutter: motion turns into blur.
Low ISO: clean image, little noise.
Open the aperture and you must speed up the shutter or lower the ISO to keep the same exposure. That is the triangle's reciprocity.
These three parameters all affect the quantity of light recorded, yet each produces a distinct visual side-effect. This is precisely where the interest of manual control lies: you choose which side-effect you accept or seek.
Aperture: Light and Depth of Field
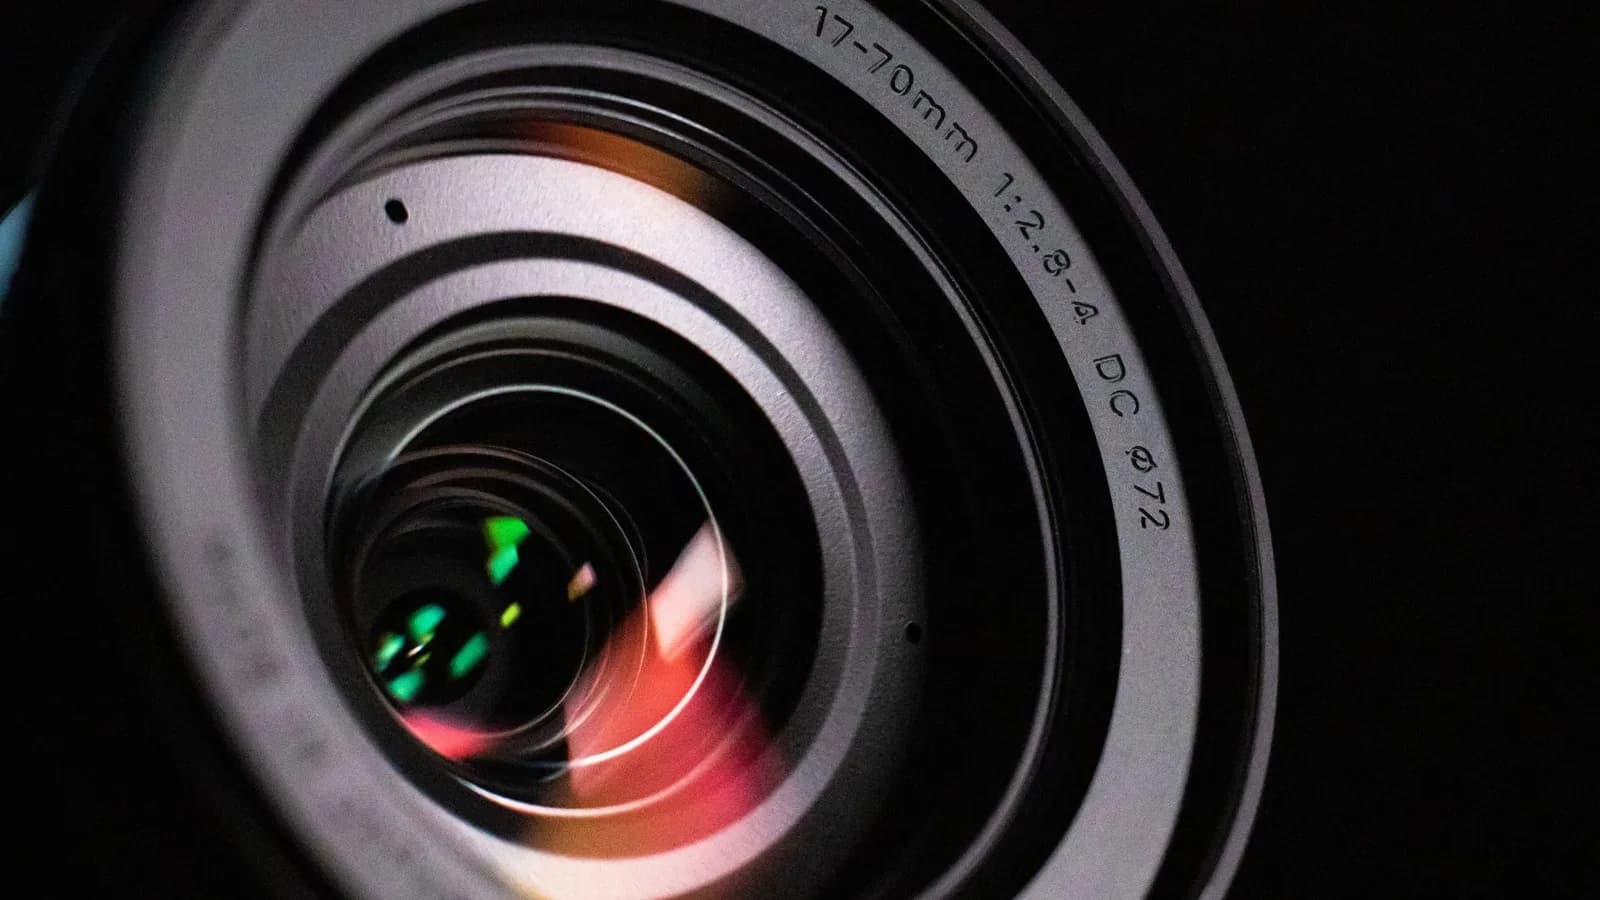
Aperture controls the size of the passage left for light in the lens. It is expressed in f-stops, a value that can seem counter-intuitive at first.
The f/ value: why larger numbers mean less light
The f/ value is a mathematical ratio: focal length divided by diaphragm diameter. A 50 mm lens opened at f/2 has a diaphragm diameter of 25 mm. The same lens at f/8 has only 6.25 mm. The larger the number, the smaller the diaphragm, the less light it lets through.
| Aperture | Relative light | Depth of field | Typical use |
|---|---|---|---|
| f/1.4 | Maximum | Very shallow | Portrait, low light |
| f/2.8 | High | Shallow | Portrait, indoor reportage |
| f/5.6 | Medium | Moderate | Versatile, light landscape |
| f/8 | Reduced | Deep | Landscape, architecture |
| f/16 | Low | Very deep | Landscape, macro, long exposure |
Depth of field: the side-effect of aperture
A wide aperture (f/1.4 to f/2.8) produces shallow depth of field: the subject is sharp, the background is blurred. This is the bokeh sought in portraiture. A small aperture (f/8 to f/16) produces deep depth of field: everything is sharp from foreground to background. This is the effect sought in landscape photography.
Shutter Speed: Freezing or Suggesting Movement
Shutter speed determines how long the sensor remains exposed to light. It is expressed in fractions of a second or whole seconds.
A fast speed (1/1000 s or faster) freezes moving subjects: runner, bird in flight, water droplet. A slow speed (1/30 s or slower) allows movement to be rendered on the sensor: car light trails, silky water in long exposure, star trails.
The reciprocal rule to avoid camera shake
Without stabilisation, the minimum speed for a sharp handheld image equals the reciprocal of the focal length used. With a 50 mm, aim for 1/50 s minimum. With a 200 mm, aim for 1/200 s. On an APS-C sensor, apply the crop factor: a 50 mm on APS-C equals 75 mm full-frame, so aim for 1/75 s or 1/100 s.
Reference speeds according to situations
| Situation | Recommended speed | Effect obtained |
|---|---|---|
| Fast sport, birds in flight | 1/1000 s to 1/4000 s | Frozen subject |
| Handheld portrait | 1/125 s to 1/250 s | Guaranteed sharpness |
| Landscape on tripod | 1/30 s to several seconds | Total freedom |
| Silky water (waterfall) | 1/4 s to 2 s | Silk effect |
| Car light trails at night | 4 s to 30 s | Light streaks |
| Long exposures (stars) | 15 s to 30 s (500 rule) | Pinpoint stars |
ISO Sensitivity: Amplifying the Signal, at the Cost of Noise
ISO does not control the light entering the camera. It amplifies the electrical signal produced by the sensor. This is a fundamental distinction.
Raising ISO allows photography in low light without lengthening shutter speed or opening the aperture further. In return, digital noise increases: shadows fill with grain, fine detail disappears and colours degrade.
Native ISO and extended ISO: a distinction manufacturers downplay
Every sensor has a native ISO range in which the signal-to-noise ratio is optimal. Extended ISO values (often shown in italics or brackets in menus) are obtained by software processing rather than physical signal amplification. They degrade the image more than equivalent native ISOs. On most current full-frame sensors, the native range extends from ISO 100 to ISO 25 600 approximately. Beyond this you are in extended territory.
How far to push ISO according to sensor?
Micro Four Thirds
17.3 × 13 mm sensor
- Comfortable use up to ISO 1600
- ISO 3200 acceptable with noise reduction
- Beyond ISO 6400, marked loss of detail
APS-C
Approx. 23.5 × 15.6 mm sensor
- Comfortable use up to ISO 3200
- ISO 6400 acceptable depending on body
- Best 2026 APS-C sensors reach ISO 12 800
Full-frame
36 × 24 mm sensor
- Comfortable use up to ISO 6400 to 12 800
- ISO 25 600 usable on the best sensors
- Structural advantage: larger sensor surface, less noise at equal signal
How the Three Parameters Balance in Practice
Changing one parameter without touching the others alters exposure. To keep it constant, every change must be compensated.
The relationship between the three parameters is multiplicative. Doubling the light received corresponds to +1 EV. Here are the equivalences: opening one stop (f/5.6 to f/4) doubles the light. Halving the speed (1/500 s to 1/250 s) doubles the light. Doubling the ISO (ISO 400 to ISO 800) doubles signal sensitivity.
Practical example: indoor portrait
- 1
Starting point
f/5.6, 1/125 s, ISO 400. The image is correctly exposed but the background is too sharp for a portrait.
- 2
Creative goal
Open to f/2.8 to blur the background. This represents +2 EV of additional light.
- 3
Mandatory compensation
To maintain exposure, 2 EV must be removed elsewhere. Option 1: change speed from 1/125 s to 1/500 s (-2 EV). Option 2: change ISO from ISO 400 to ISO 100 (-2 EV). Option 3: combine both, e.g. 1/250 s and ISO 200 (-1 EV + -1 EV).
- 4
Arbitration
If the subject is still, the faster speed is preferable (less noise than raising ISO). If light is already low and ISO 100 is not viable, increase speed only.
Practical example: outdoor waterfall
- 1
Starting point
f/8, 1/250 s, ISO 200. Exposure is correct but water is frozen, the silk effect is absent.
- 2
Creative goal
Slow to 1/4 s for the silk effect. This represents +6 EV of additional light (6 stops difference between 1/250 s and 1/4 s).
- 3
Compensation
Stop down to f/22 (-3 EV) and set ISO 50 if available (-2 EV). Still 1 EV short: use a 1-stop ND filter (ND2) or a polariser that cuts approximately 1.5 EV.
- 4
Result
Exposure remains identical, water is silky. The ND filter is the indispensable tool for long exposures in daylight.
The exposure triangle is not a constraint. It is a decision tool: you choose which side-effect you want, then compensate the other two parameters accordingly.
Teddy, camera-duel.com
Camera Exposure Modes: Which to Choose and Why
The mode dial directly translates the exposure triangle into control options. Each mode delegates part of the decisions to the camera.
| Mode | You control | Camera manages | Recommended use |
|---|---|---|---|
| M (Manual) | Aperture + Speed + ISO | Nothing | Studio, tripod, stable conditions |
| Av / A (Aperture priority) | Aperture + ISO | Speed | Portrait, landscape, general use |
| Tv / S (Shutter priority) | Speed + ISO | Aperture | Sport, wildlife, movement |
| P (Program) | None (EV correction possible) | Aperture + Speed | Beginner, urgent situations |
| Auto ISO in M | Aperture + Speed | ISO only | Reportage, changing conditions |
Side-Effects: What Each Parameter Brings to the Image
Correct exposure is a technical goal. The side-effects of each parameter are creative tools. The two are inseparable.
Decision hierarchy in practice
When facing a new scene, adopt a systematic method. Start with the desired visual effect: do you want to freeze or suggest movement? Do you want to isolate the subject or keep everything sharp? The answers to these two questions determine your target speed and aperture. ISO comes last: raise it only until exposure is correct, not beyond.
For landscape on a tripod, keep ISO at its lowest native value (ISO 64 to ISO 100 depending on body). Adjust aperture and speed freely. For indoor sport, speed is dictated by movement (1/500 s minimum), aperture by the lens available, and ISO rises until exposure is reached, accepting noise if necessary.
Most Common Errors and How to Correct Them
Understanding the triangle is not enough: application errors are systematic among photographers starting in manual mode. Here are the most frequent.
Error 1: raising ISO as first reflex
ISO is the last-resort parameter. Before raising ISO, check whether you can open the aperture further or slow the shutter without compromising sharpness or the desired effect. An unnecessarily high ISO degrades the image without creative benefit.
Error 2: confusing camera shake blur with focus blur
A blurred subject can have two distinct causes. Camera shake blur comes from too slow a shutter speed: the subject or photographer moved during exposure. Focus blur comes from insufficient depth of field or missed autofocus. Zooming to 100 % on the rear screen distinguishes the two: camera shake produces directional streaks, focus blur produces uniform softening.
Error 3: relying solely on the rear screen to judge exposure
A camera’s rear screen varies in brightness according to settings and ambient conditions. An image that looks well exposed in bright sunlight may be underexposed by 1 to 2 EV. Use the histogram systematically and, if your body offers it, the highlight warning (zebras or blinking areas).
Error 4: forgetting the effect of diffraction at small apertures
Stopping down to f/22 to maximise depth of field is counterproductive on most current sensors. Diffraction reduces overall sharpness beyond f/11 to f/16 depending on pixel density. For landscapes, f/8 to f/11 is often the optimal compromise between depth of field and sharpness.
Choose the lens suited to your practiceThe maximum aperture of a lens directly conditions your low-light options. Our guide helps you choose.Applying the Triangle According to Your Photographic Practice
The exposure triangle does not apply the same way whether you photograph landscapes, portraits or sport. Here are the priorities by use.
Landscape
Priority: sharpness and depth of field
- Lowest native ISO (ISO 64 to 100)
- Aperture f/8 to f/11 for optimal sharpness
- Speed free thanks to tripod
- Remote release or self-timer to avoid shake on release
Portrait
Priority: subject/background separation
- Wide aperture (f/1.4 to f/2.8) for bokeh
- Speed 1/125 s minimum to freeze micro-movements
- Lowest possible ISO according to available light
Sport and wildlife
Priority: freezing movement
- Speed 1/1000 s to 1/4000 s according to subject speed
- Maximum aperture of the lens to limit ISO rise
- Auto ISO with defined maximum according to body
The Five-Step Method for Setting Exposure Manually
A reproducible procedure is better than intuition. Here is the sequence to apply to every new situation.
- 1
Define the desired visual effect
Ask yourself two questions: do you want to freeze or suggest movement? Do you want to isolate the subject or keep everything sharp? The answers determine your target speed and aperture.
- 2
Set aperture according to desired depth of field
Portrait with background blur: f/1.4 to f/2.8. Landscape everything sharp: f/8 to f/11. Versatile: f/4 to f/5.6.
- 3
Set speed according to movement
Still subject on tripod: speed free. Moving subject: 1/250 s minimum for a walker, 1/1000 s for a fast athlete. Handheld without stabilisation: respect the reciprocal rule.
- 4
Raise ISO until correct exposure
Start as low as possible (ISO 100 to 200). Raise in one-stop increments until the histogram is correctly positioned, without exceeding your acceptable noise threshold.
- 5
Check the histogram, adjust if necessary
Shoot a test image. Check the histogram. If the curve is too far left (underexposure), raise ISO or open slightly. If it is too far right with clipping, lower ISO or close slightly. Repeat until balanced.
Frequently asked questions
Which exposure triangle parameter should I set first?▾
Start with the visual effect you want to achieve. If you are photographing a moving subject, shutter speed is your first decision. If you want to control depth of field (background blur or total sharpness), start with aperture. ISO always comes last: it is the compensation parameter, not the creative one.
What is the practical difference between f/1.8 and f/5.6 aperture?▾
f/1.8 lets in approximately 9 times more light than f/5.6 (about 3 stops difference). Practically, at f/1.8 the background is strongly blurred and you can use a faster speed or lower ISO. At f/5.6 depth of field is greater, more planes are sharp, but you need more light or higher ISO for the same exposure.
Can one photograph in manual mode in all circumstances?▾
Technically yes, practically no. In rapidly changing light (reportage, indoor sport with variable lighting), pure manual mode is too slow to adjust. The combination of M mode with auto ISO is often the best compromise: you fix aperture and speed, the camera adjusts only ISO. For studio, tripod landscape or long exposure, pure M mode is the best option.
What is a stop in photography?▾
One stop (or EV, Exposure Value) represents a doubling or halving of the quantity of light. Opening one stop (for example f/5.6 to f/4) doubles the light. Halving the speed (1/500 s to 1/250 s) doubles the light. Doubling the ISO (ISO 400 to ISO 800) doubles sensitivity. These three operations are equivalent in terms of final exposure.
Why are my photos still blurry even with a fast shutter speed?▾
Persistent blur despite a fast speed generally has two causes. First cause: focus is missed or depth of field is too shallow (wide aperture, subject too close). Zoom to 100 %: if blur is uniform and non-directional, it is a focus problem. Second cause: the speed is fast enough for photographer shake but not for subject speed. A bird in flight requires 1/2000 s to 1/4000 s, not merely 1/250 s.
From which ISO does noise become problematic?▾
It depends on the sensor. On Micro Four Thirds, noise becomes visible from ISO 1600 to 3200. On a recent APS-C, the acceptable limit is around ISO 3200 to 6400. On a modern full-frame, one can go up to ISO 12 800 to 25 600 with usable results. These values vary according to final display size: an image for the web tolerates more noise than a large-format print.